The woodshed
The woodshed is where I store the pieces I use to make rustic furniture. Having some dry seasoned "inventory" on hand is a necessity. Inside the woodshed are several drying racks and an assortment of small diameter stock like: birch, chokecherry, pincherry, saskatoon and willow that I've collected from my surroundings.
Typically it takes about a year to completely dry out a 1" thick twig and about 3 years to dry out something 3-4 inches thick. I sort them by size (diameter) and length and I set aside the really unusual accent pieces. I also store birch firewood but it's outside, under the overhangs. My firewood stack is often a source if I need bulkier pieces.
These stools were made using a mixture of materials. The seats are aspen poplar, the legs are elm and the rungs are made of saskatoon.
Both of these stools have seats made of Aspen poplar and the legs are birch from the firewood pile. The rungs are saskatoon.
For joining the pieces to make these stools I use a technique known as "Mortice and Tenon Joinery" also known as peg-in-hole by some enthusiasts. The connections are tight and have to be forced together with a rubber mallet. The legs are attached to the seats using the same method. Finally, I glue up the joints to ensure they remain tight.

This internet photo shows a wooden cube. It's apparently made with log pieces held together with epoxy resin. I intended to duplicate this cube but, as it turned out, it provided the starting point that led to me building something else. Something I call my log-lamp.
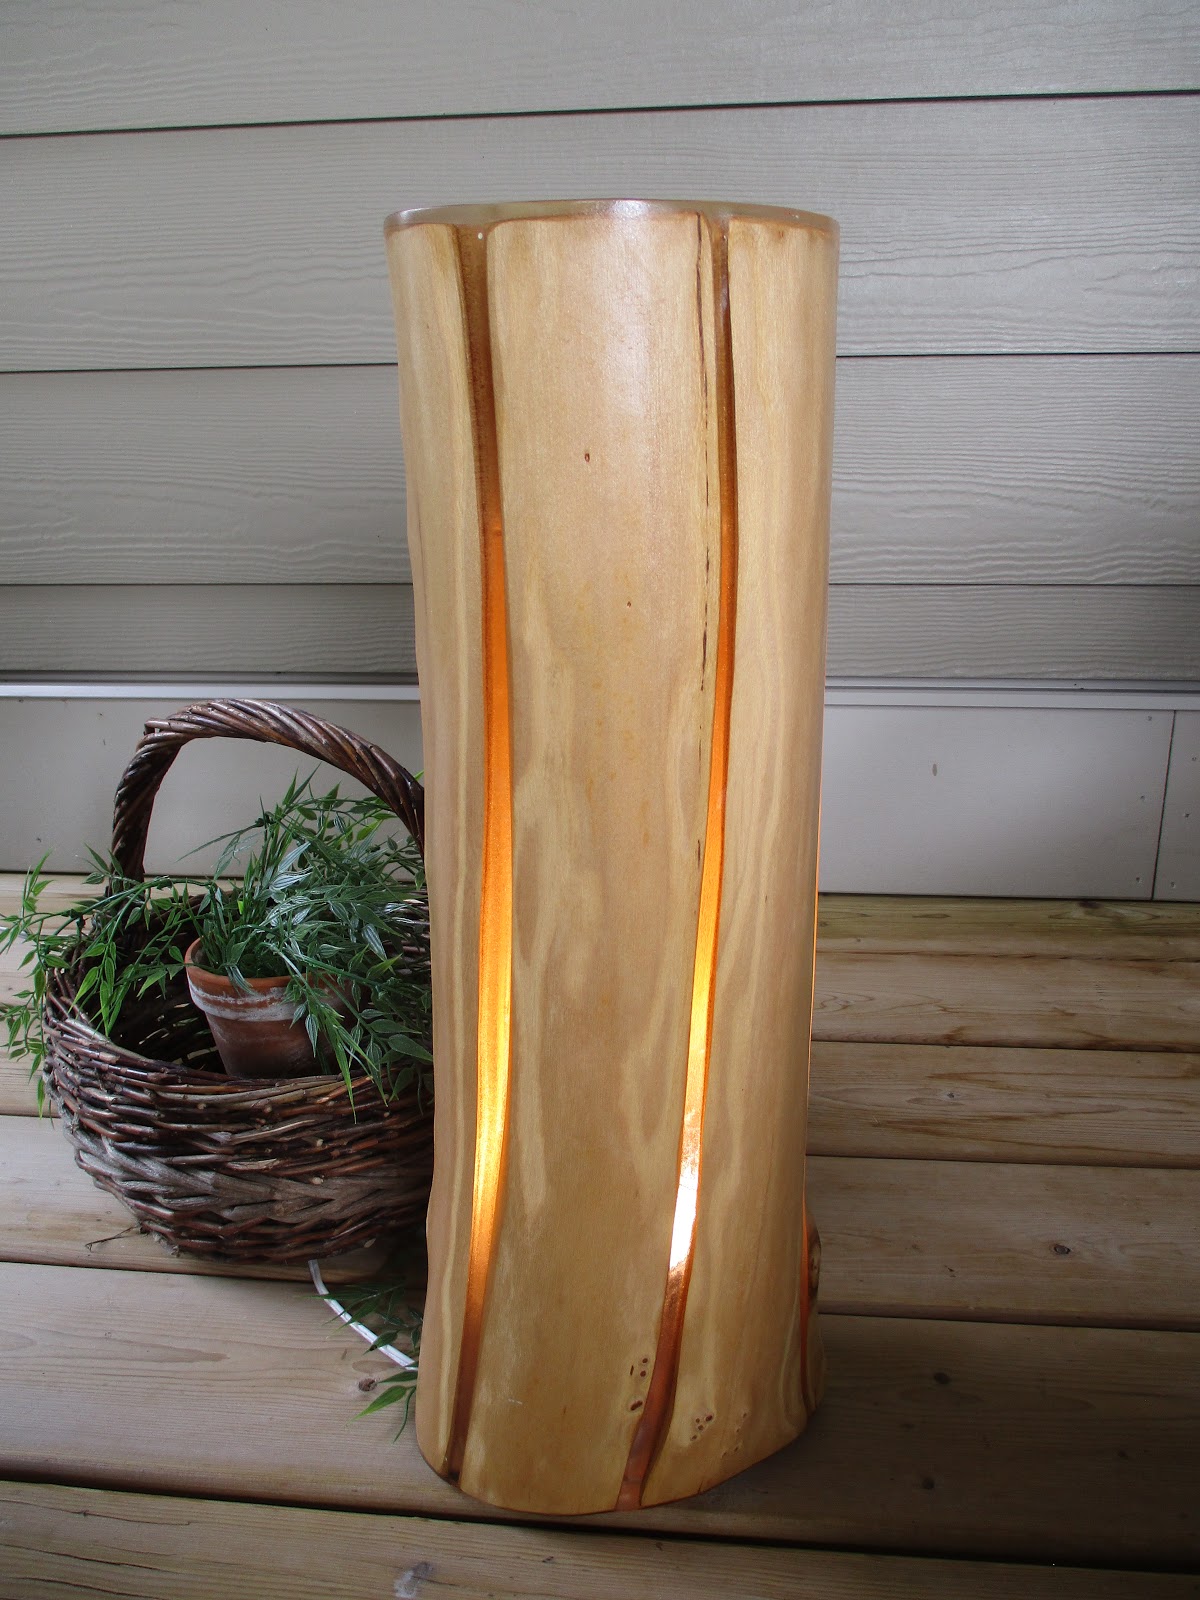
The Log Lamp
For years I'd been saving a matching set of ash firewood pieces that I had split. I had no idea of what to do with them until now. Inspired by the cube I started by debarking and sanding all the surfaces and rounding off all the edges to soften their appearance. Instead of going for the cube look, I reassembled the five pieces into the original log shape while deliberately leaving a wide gap between all the pieces.
I'd been experimenting with 2-part epoxies for a couple years so a clear resin, to reconstruct this former log, was a natural choice. Also, I decided that incorporating an internal lightbulb would be a nice touch too.
12" diameter ash lamp.
I'll provide some details for each building step but I'll deliberately hold back on a few because, in my opinion, solving a challenge as it arises is the best part of creating something.
A bungy cord was used to tightly hold the pieces together. Wooden wedges were used to set the width of the gaps. These gaps will eventually get filled with clear resin in the following steps.
Pictured up side down: A form of some sort was needed to pour the top surface of the lamp. Eventually I stetted on using the bottom 1.5" of a 5 gal pail.
The bottom, (top in this picture) was hollowed out for the lightbulb socket assembly.
I left a 1/8" gap between the form and the wood assembly to ensure proper coverage of the top. Approximately 8 fl oz of epoxy was used in this step.
Pictured above: 12 hrs after pouring the epoxy the form was removed to expose the top surface.
The rough edges of the cured epoxy were sanded smooth before taping up the gaps with Tuck Tape. Wedges were used to ensure the gaps remained open.
Tuck Tape, a Canadian product, was used to close up the sides before filling with epoxy. Packing tape can also be used but ensure it adheres tightly to the wooden surfaces. Approximately 16 fl oz of epoxy was used in this step.
Following this step, each remaining gap was taped up and individually poured. These 5 final pours took 5 days to complete. A thin round wooden disc was made to serve as the lamp bottom cover and to hold the lightbulb assembly.
After completing the first Log Lamp I started on a second lamp. This time I used a 6" diameter piece of elm. This lamp took less than a week to complete and used half the amount of epoxy.
Tip: When mixing 2 part epoxies, follow the manufacturers mixing proportions religiously. Even the slightest deviation in the mixing ratios can result in soft or wet results that will not cure. The only fix is to remove the improperly mixed mess and replace it. Follow the directions, enjoy the results and avoid the aggravation.